Picture #1
Remote Saddle Selection Guide
The below tools are offered exclusively when you are looking to purchase a saddle through Auckland Saddle Fit. We always recommend an onsite saddle fitting with a qualified saddle fitter. However, we understand these aren't always available when you need them. Therefore we offer the below remote options to help you make the most informed choice for you and your horse.
BASIC PACK
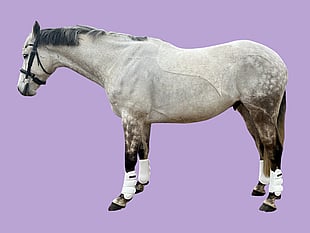
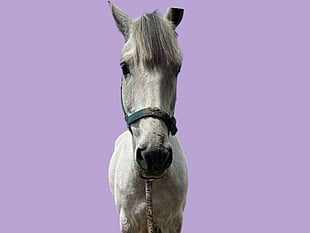
Horse Conformation
Want us to help you select a saddle? You can submit your horses details and photos via our easy form HERE. We will come back to you within 24 hrs.
Click on the images below for instruction on how to take the best photos.


STANDARD PACK
Saddle Templating
To complete a physical template you require a Flexicurve (9cm=A, 18cm=B), A3 paper, a pen, 3m dressmakers tape, chalk and your horse.
Below are the instructions on how to perform your templating correctly. Please take the time to read these before heading out to start your template. You can download and print the instructions and examples to take with you to your stables/ yards. If you have poor mobile coverage there, you can simply write the measurements on paper and upload the information to our online form later on.
ADVANCED & PREMIUM PACK
Saddle Assessment
If you have purchased an Advanced or Premium pack you will be required to upload your photos and videos below. Please make sure you hit the SUBMIT button at the bottom of the form once you have completed uploading.
What our Clients Say

Holistic Saddle Fitting & Equestrian Products.
Research based innovative Trial Library - "try before you buy" on the industries Top Brands of horse riding accessories.